The Ford F-150, a true American legend, is renowned for its power, versatility, and rugged reliability. But even the mightiest of trucks need some TLC from time to time. When it comes to ensuring your F-150's safety and performance, there's no room for compromise. In this comprehensive guide, we'll walk you through the intricate process of changing the rear brakes on your Ford F-150. It's not just about maintenance; it's about preserving the heart and soul of your trusty steed.
Step 1: Gather Your Tools
Before diving into the brake replacement, make sure you have all the necessary tools ready. You'll need:
- Jack
- Jack stands
- Lug wrench
- A socket set
- C-clamp or brake caliper tool
- Torque wrench
Step 2: Safety First
To ensure a safe working environment, it's crucial to prioritize safety measures. Before starting any truck-related task, make sure the vehicle is parked on a level surface, engage the parking brake to prevent any accidental movement, and wear appropriate safety goggles and gloves to protect yourself from any potential hazards.
Step 3: Removing the Wheel
Use the lug wrench to remove the wheel covering the brakes. Once the wheel is off, you'll have clear access to the brake components.
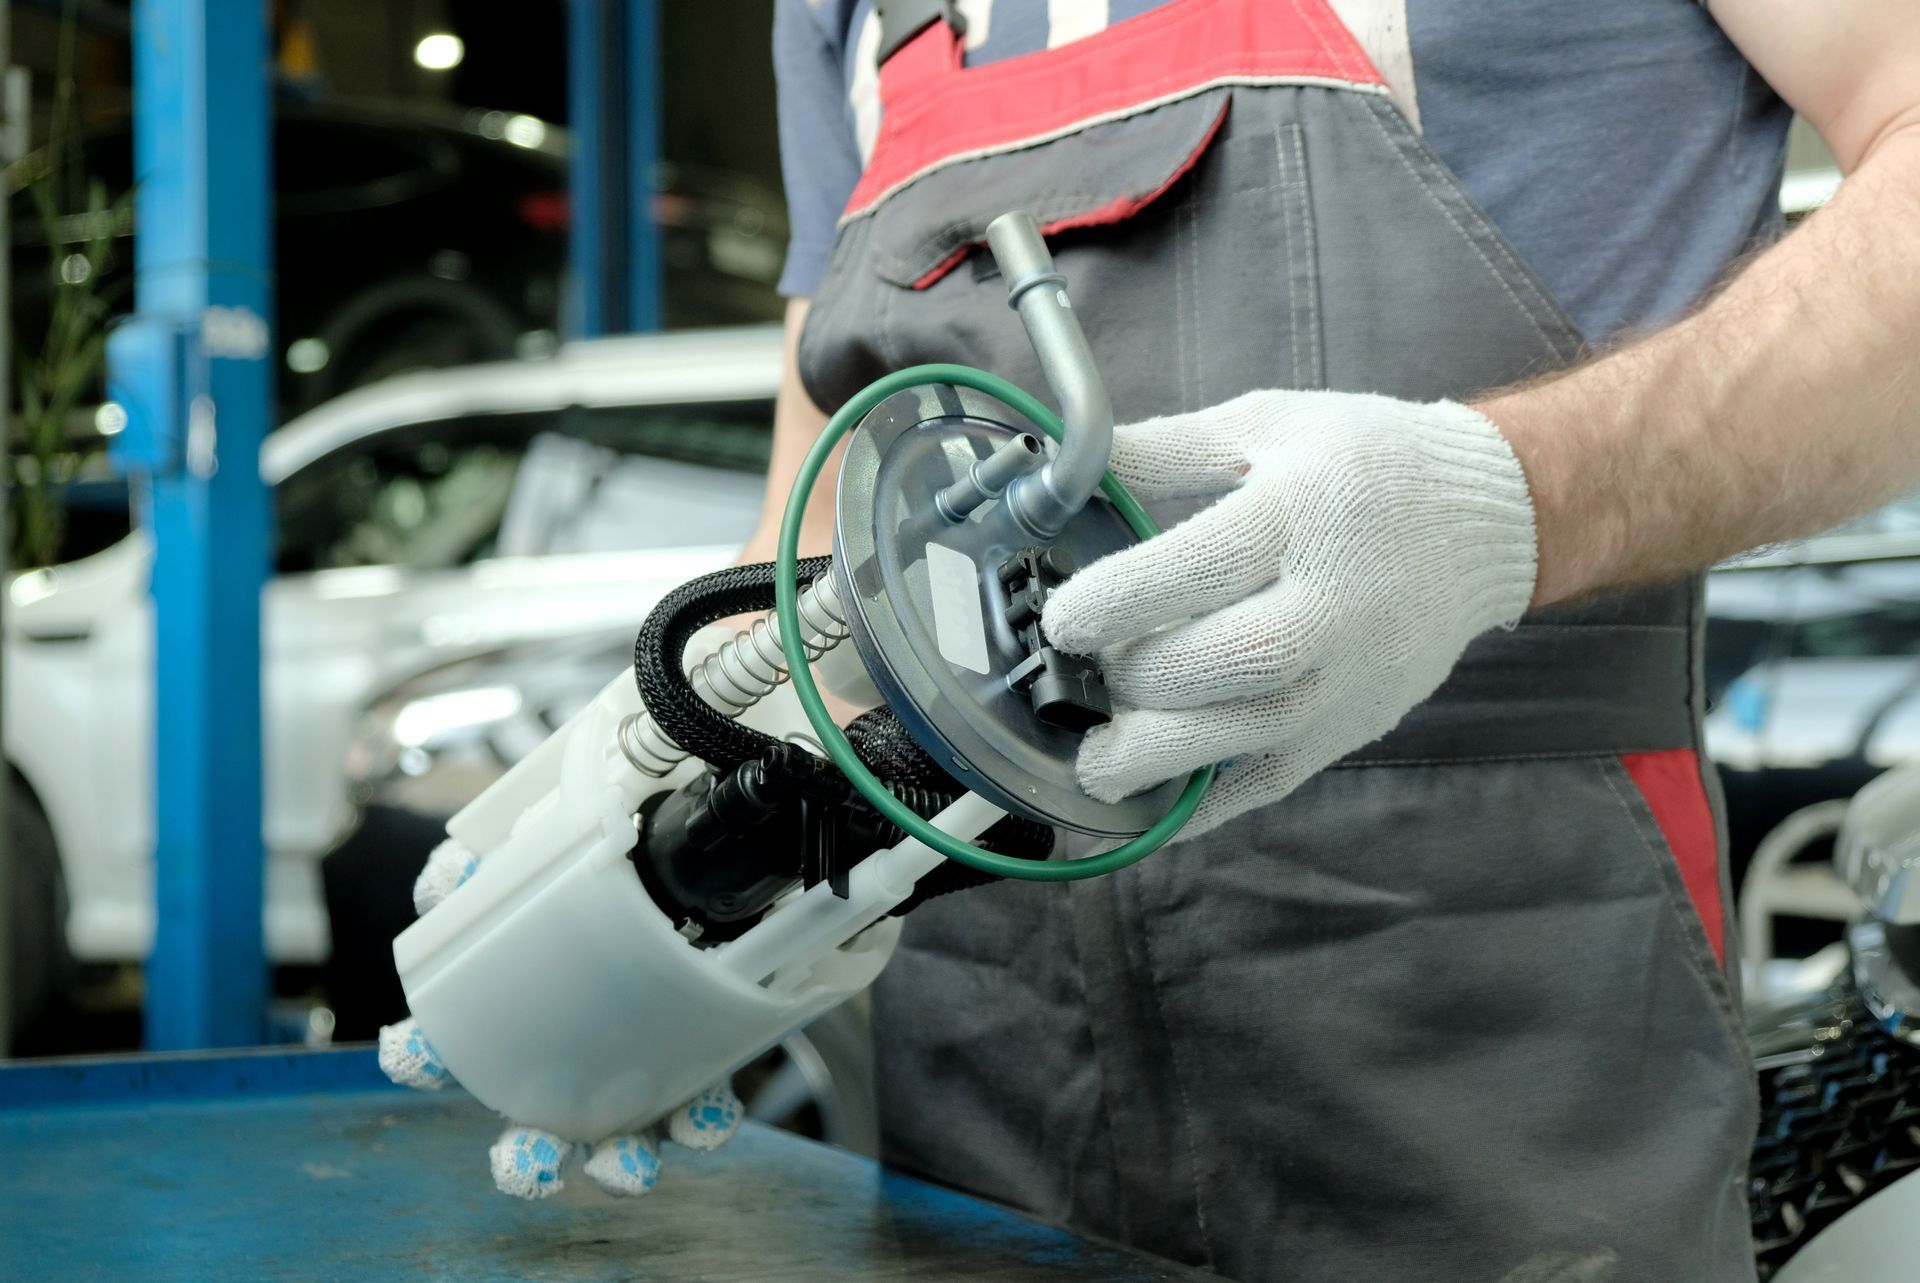
Step 4: Locate the Caliper
Locate the rear brake caliper on your F-150. It's the clamp-like component that wraps around the brake rotor.
Step 5: Remove the Caliper Bolts
Use your socket set to remove the caliper bolts. Carefully detach the caliper from the rotor. You might need a C-clamp or brake caliper tool to compress the caliper piston.
Step 6: Inspect the Brake Pads
With the caliper removed, take a close look at the brake pads. Check for wear and tear. If they're worn down to a thin layer or damaged, it's time for replacement.
Step 7: Lubricate and Install
Apply a thin layer of brake grease to the caliper bracket where the brake pads will sit. This prevents squeaking. Then, slide the new brake pads into the bracket.
Step 8: Reattach the Caliper
Carefully place the caliper back over the brake pads and rotor. Reinsert and tighten the caliper bolts securely using your socket set.
Step 9: Put the Wheel Back On
Once the caliper is securely in place, put the wheel back on, and tighten the lug nuts.
Step 10: Torque it Right
Using a torque wrench, ensure the lug nuts are tightened to the manufacturer's specifications.
Step 11: Test the Brakes
Before hitting the road, pump the brake pedal a few times to ensure the caliper piston is properly seated. This will prevent a soft brake pedal feel.
Step 12: Recheck Everything
Double-check all your work, making sure all bolts are tightened and the wheel is secure.
Congratulations, you've successfully changed the rear brakes on your Ford F-150 - it wasn't that hard, was it?! Well, if it was, make sure to contact us at America's Service Station, and we will certainly help out!